
Jodi Hashimoto, Independent Stampin' Up! Demonstrator
Welcome and thanks for visiting! I hope that you enjoy the projects and ideas you see here. I’ve been a Stampin’ Up! Demonstrator since 2005 and have always enjoyed crafting. Creating and sharing handmade gifts with family and friends brings me joy.
-
Events
Join me for one of my classes or events! Make cards and other projects using Stampin' Up! products and learn new techniques. I look forward to stamping with you. -

Shop
Shop at your convenience for the products you need in my on-line store. -
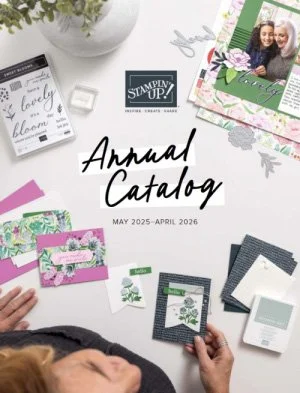
Annual Catalog
MAY 2025 - APRIL 2026
Browse our catalog for products, ideas and samples.
-
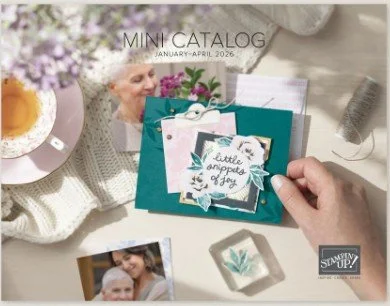
Mini Catalog
Browse our catalog for products, ideas and samples.

Featured
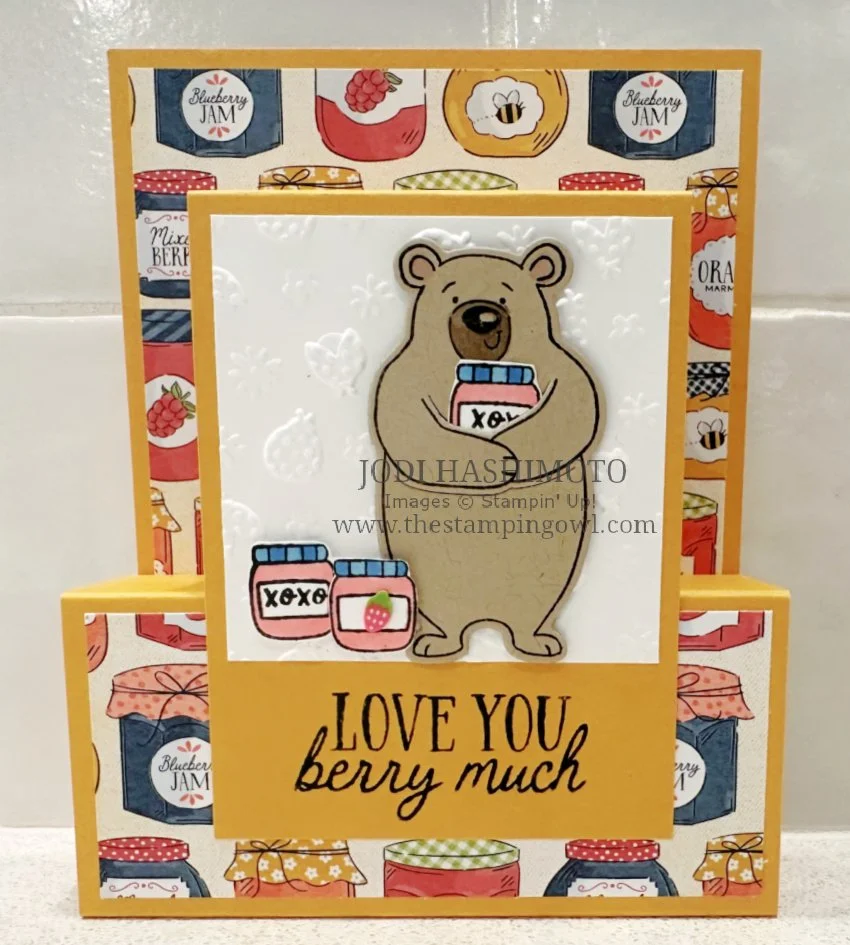
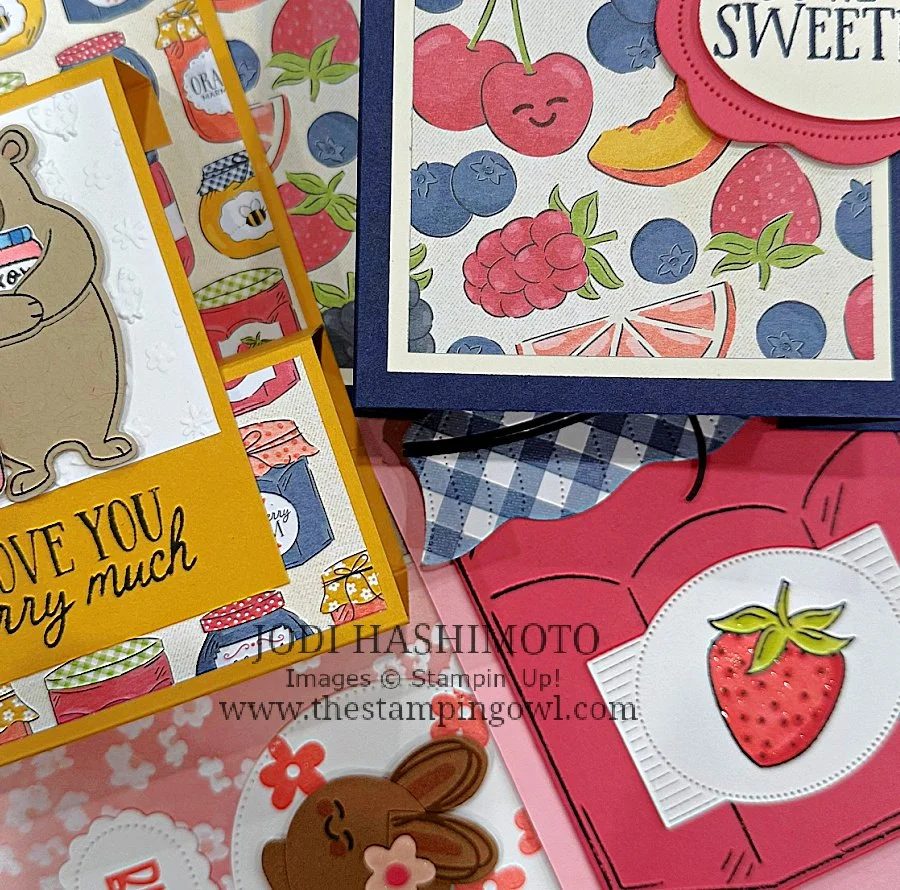
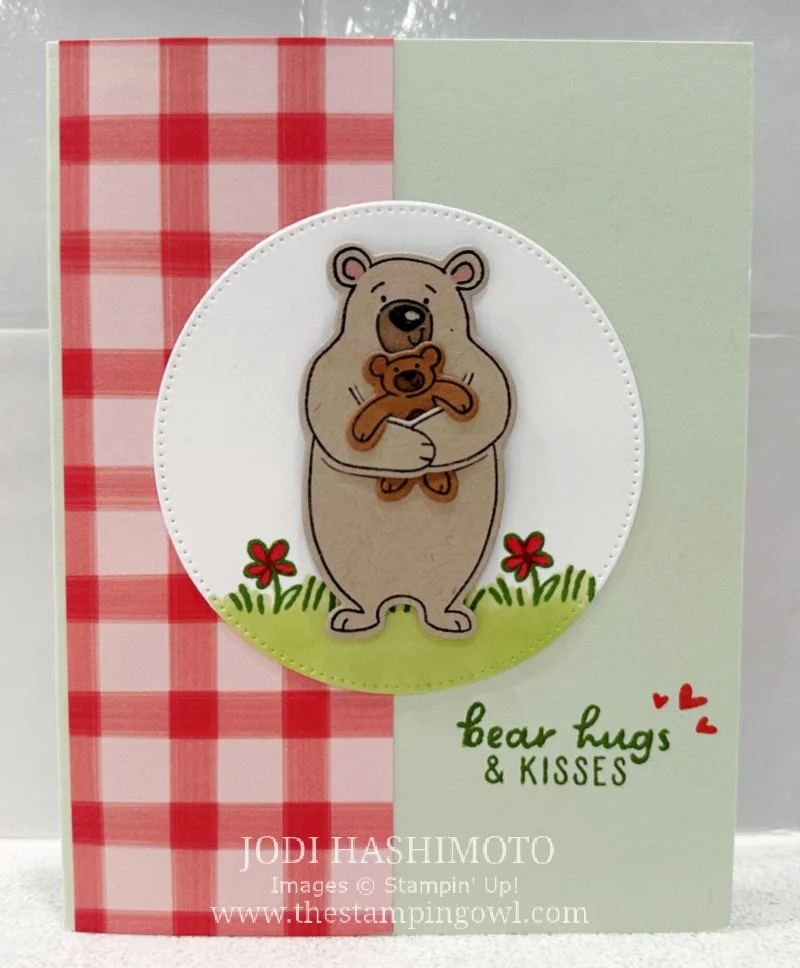
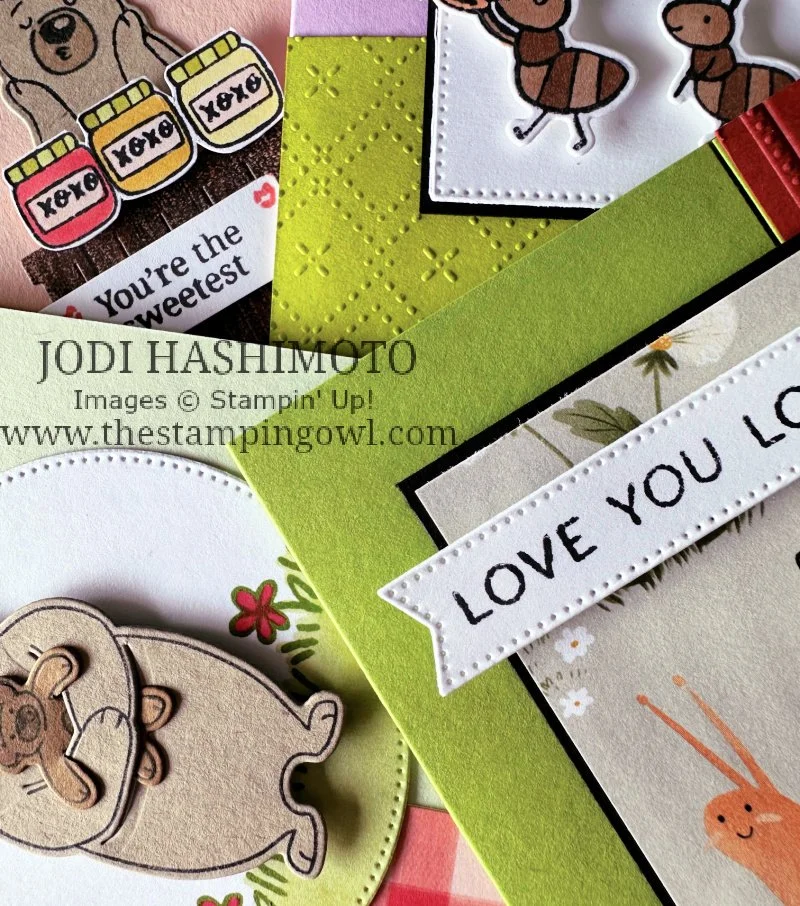


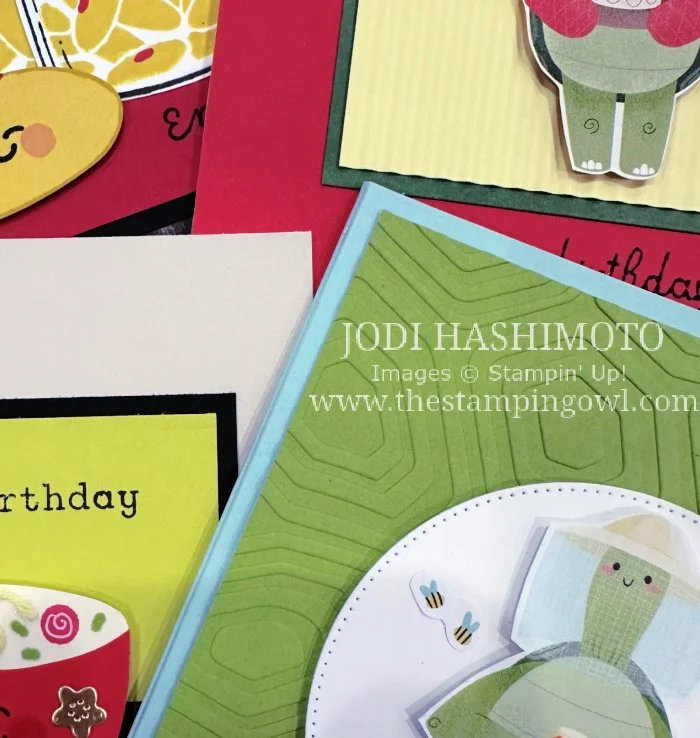
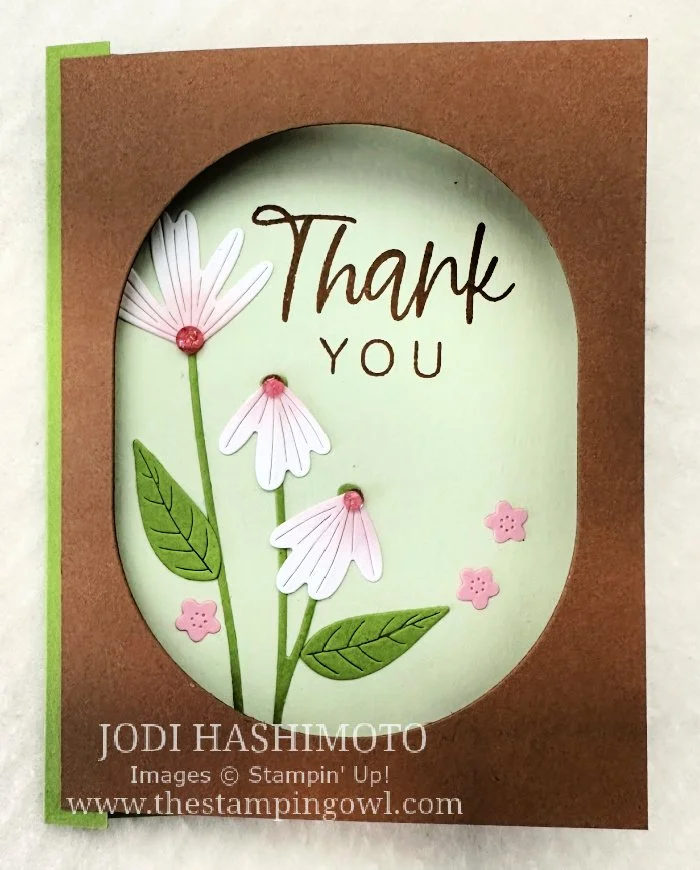

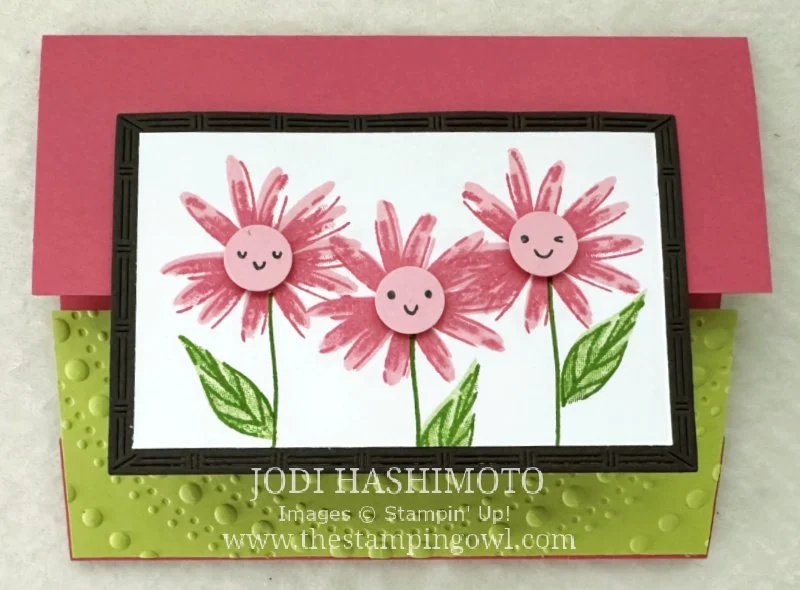
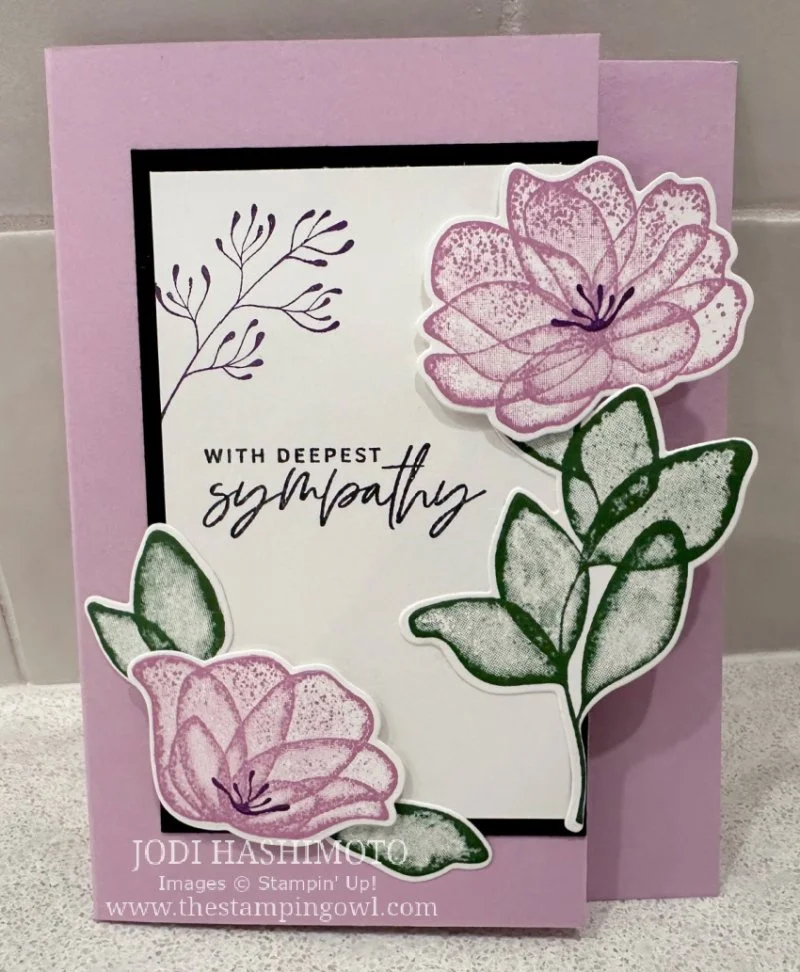

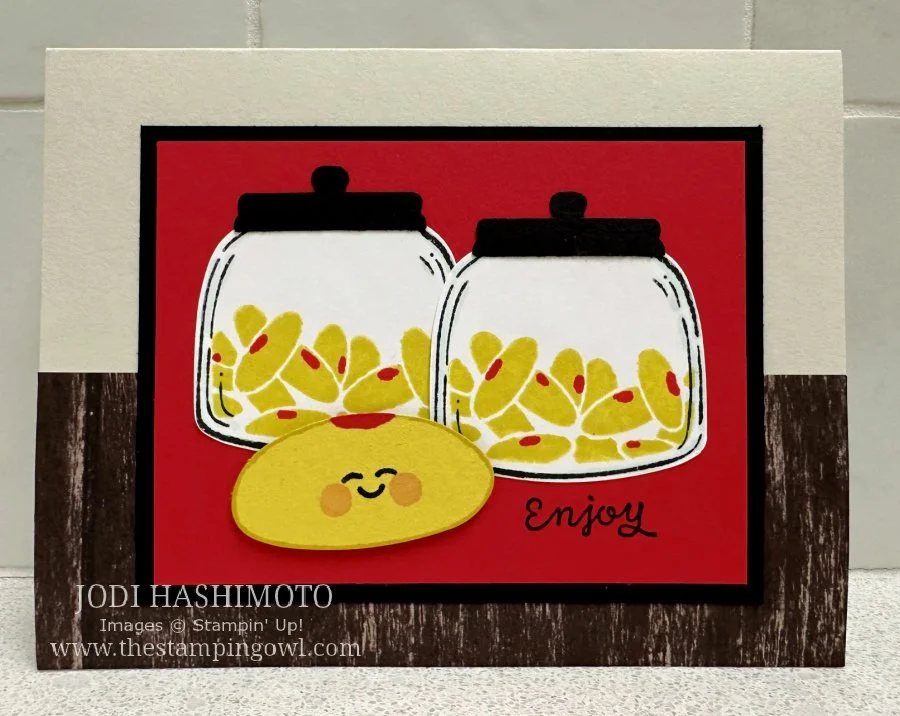
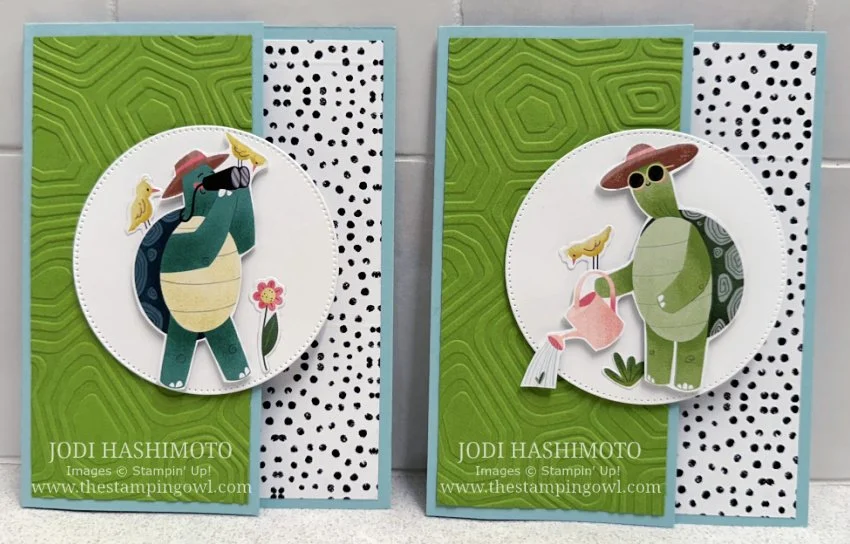
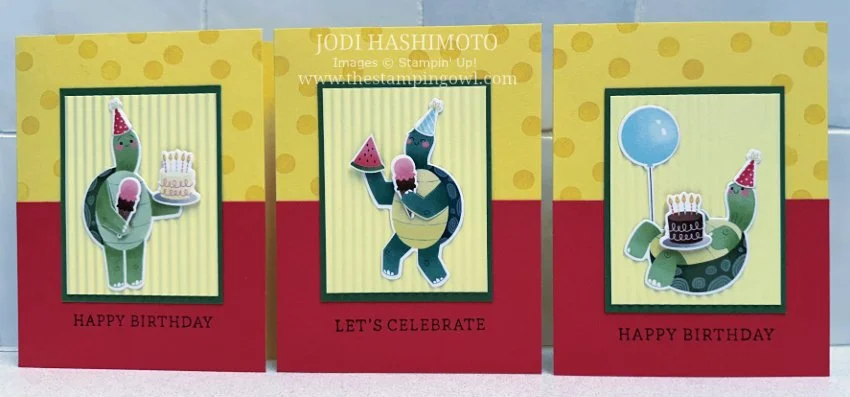
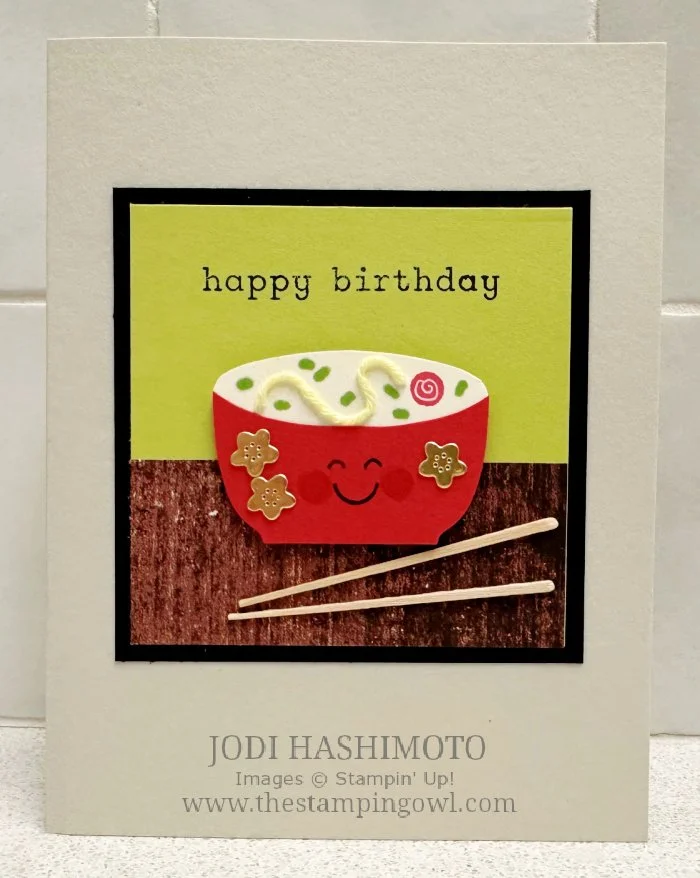
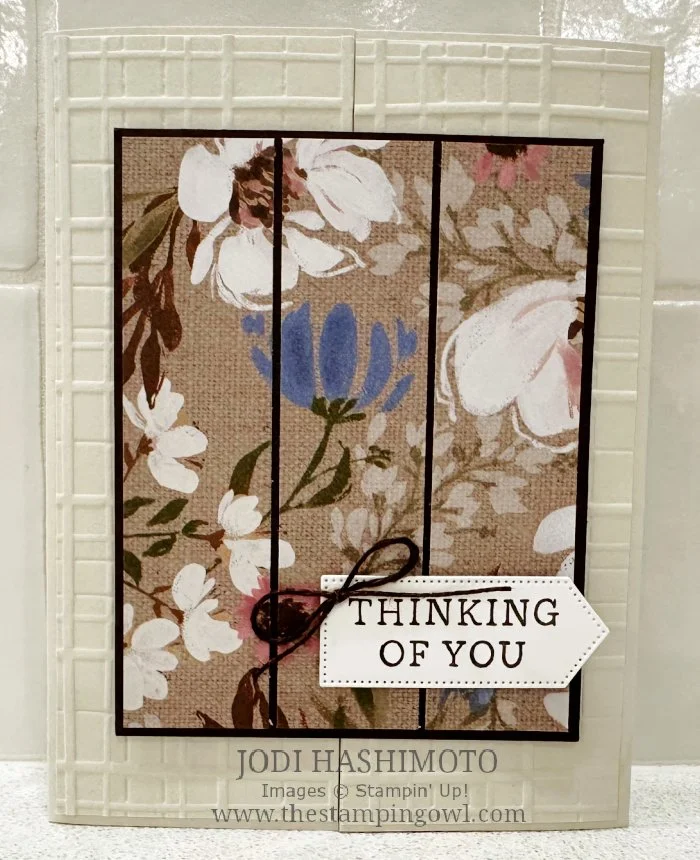

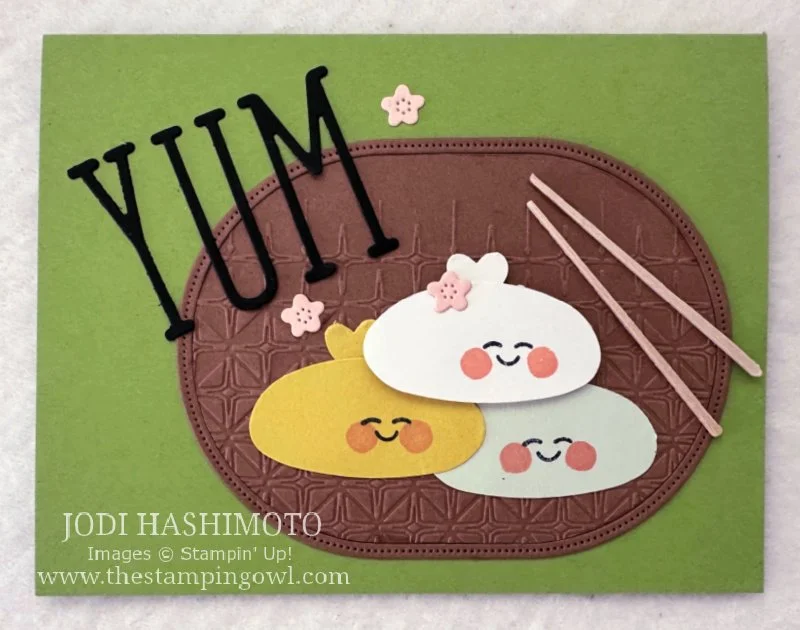
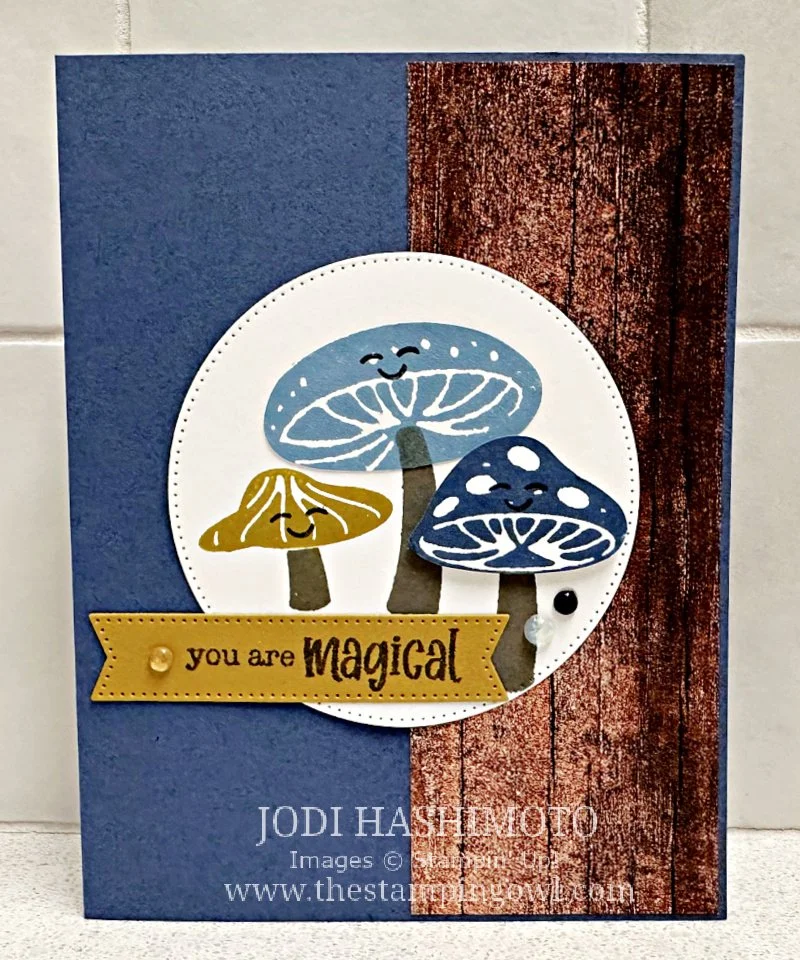
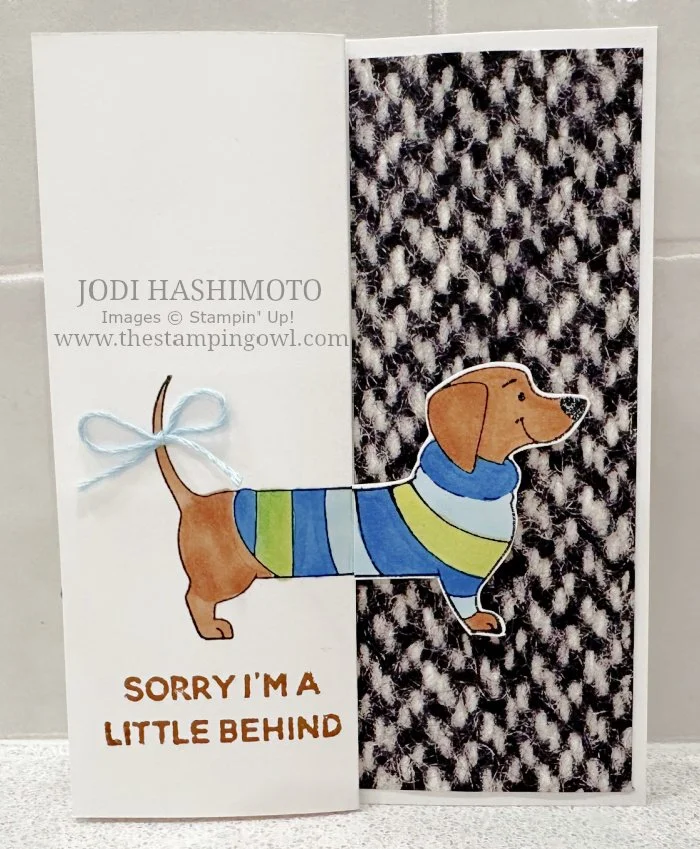
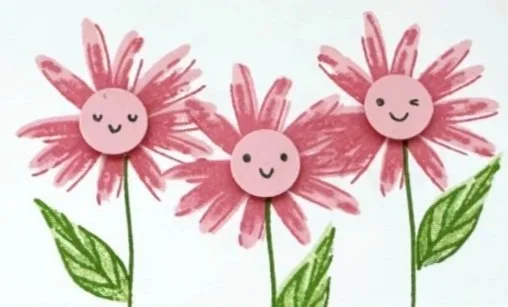
Here are the cards from my Let’s Grow class. We have an eclectic mix to fit our theme--cute mushroom terrariums, a loooong dog in a sweater, bicycle, and flowers. The stamp sets and products are from the Annual Catalog as well as On-line Exclusives. Recipes are included with each project and the supply details are listed at the end of this post. Thanks for stopping by!